
How to Set Up a LAMP Stack on Ubuntu (Step-by-Step Guide)
Quick Overview (TL;DR)
To set up a LAMP stack on Ubuntu:
- Install Apache
- Install MySQL
- Install PHP
- Configure Apache & PHP
- Test your setup
What is a LAMP Stack?
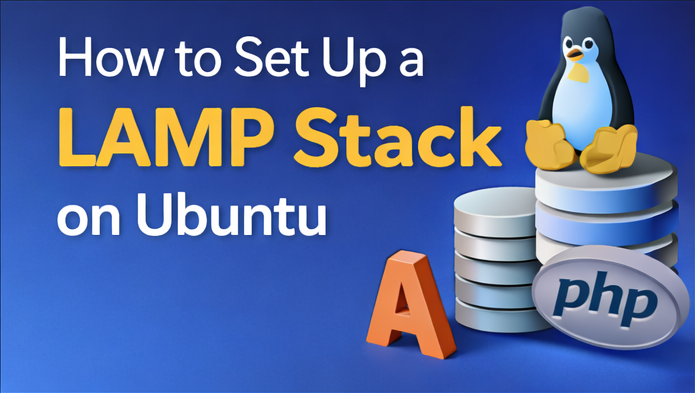
LAMP stands for:
- Linux (Operating System)
- Apache (Web Server)
- MySQL (Database)
- PHP (Backend Language)
It is one of the most widely used stacks for hosting WordPress and dynamic websites.
Why Use a LAMP Stack?
- Open-source and free
- Stable and reliable
- Widely supported
- Ideal for WordPress hosting
Prerequisites
Before you begin, ensure:
- Ubuntu 22.04 or 24.04 server
- Root or sudo access
- Basic terminal knowledge
Step 1: Update Your Server
sudo apt update && sudo apt upgrade -y
Step 2: Install Apache
Apache is the web server that serves your website.
sudo apt install apache2 -y
Start and enable Apache:
sudo systemctl start apache2
sudo systemctl enable apache2
Check status:
sudo systemctl status apache2
Open your browser and visit:
http://your-server-ip
You should see the Apache default page.
Step 3: Install MySQL
Install MySQL database server:
sudo apt install mysql-server -y
Secure installation:
sudo mysql_secure_installation
Follow prompts to:
- set root password
- remove test database
- disable remote root login
Step 4: Install PHP
Install PHP and required modules:
sudo apt install php libapache2-mod-php php-mysql -y
Check PHP version:
php -v
Step 5: Configure Apache to Use PHP
Edit:
sudo nano /etc/apache2/mods-enabled/dir.conf
Move index.php to the top:
DirectoryIndex index.php index.html index.cgi index.pl index.xhtml index.htm
Restart Apache:
sudo systemctl restart apache2
Step 6: Test PHP Processing
Create test file:
sudo nano /var/www/html/info.php
Add:
<?php phpinfo(); ?>
Visit:
http://your-server-ip/info.php
If PHP info page loads, setup is successful.
Step 7: Create Virtual Host (Optional but Recommended)
sudo nano /etc/apache2/sites-available/example.com.conf
Add:
<VirtualHost *:80>
    ServerName example.com
    DocumentRoot /var/www/example.com
</VirtualHost>
Enable site:
sudo a2ensite example.com.conf
sudo systemctl reload apache2
Step 8: Set File Permissions
sudo chown -R www-data:www-data /var/www
sudo chmod -R 755 /var/www
Common Issues and Fixes
Apache Not Starting
Check logs:
sudo journalctl -xe
MySQL Connection Error
Restart service:
sudo systemctl restart mysql
PHP Not Working
Ensure module is enabled:
sudo a2enmod php
Best Hosting for LAMP Stack
If you don’t want manual setup, use managed hosting:
👉 Cloudways Managed Hosting

👉 Bluehost Hosting
LAMP vs LEMP Stack
- LAMP = Apache
- LEMP = Nginx
Nginx is faster, but Apache is easier for beginners.
Conclusion
Setting up a LAMP stack on Ubuntu is straightforward and gives you full control over your hosting environment.
It’s ideal for:
- WordPress hosting
- web applications
- development environments