
How to Automate Vulnerability Scanning in Jenkins/GitHub Actions
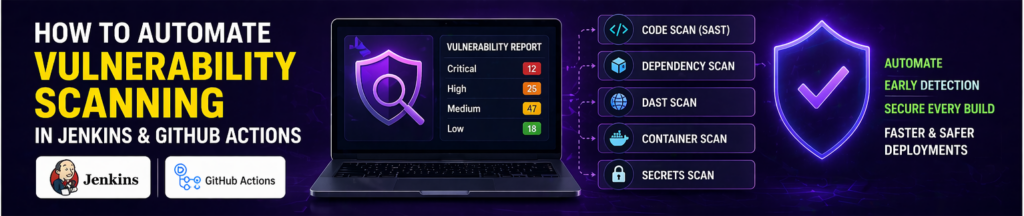
Manual security checks are not enough in modern DevOps environments. Applications are deployed frequently, and vulnerabilities can slip through easily.
Automation is the solution.
In this guide, you’ll learn how to automate vulnerability scanning using Jenkins and GitHub Actions.
Why Automate Vulnerability Scanning?
- Faster detection
- Continuous monitoring
- Reduced human error
Types of Vulnerability Scanning
- SAST
- DAST
- Dependency scanning
- Container scanning
Jenkins Setup
Install Jenkins and required plugins.
Jenkins Pipeline Example
pipeline {
    agent any

    stages {
        stage('Scan Code') {
            steps {
                echo 'Running SAST scan'
            }
        }
        stage('Scan Dependencies') {
            steps {
                echo 'Scanning dependencies'
            }
        }
    }
}
GitHub Actions Setup
Create workflow:
name: Security Scan

on: [push]

jobs:
  scan:
    runs-on: ubuntu-latest

    steps:
      - uses: actions/checkout@v3
      - name: Run Scan
        run: echo "Scanning"
Popular Tools
- SonarQube
- OWASP ZAP
- Trivy
Best Practices
- Run scans on every commit
- Fail pipeline on critical issues
- Monitor results
Common Mistakes
- Ignoring alerts
- Not updating tools
Final Thoughts
Automating vulnerability scanning ensures your applications remain secure without slowing down development.