
How to Create a WordPress Staging Site (Beginner to Advanced Guide)
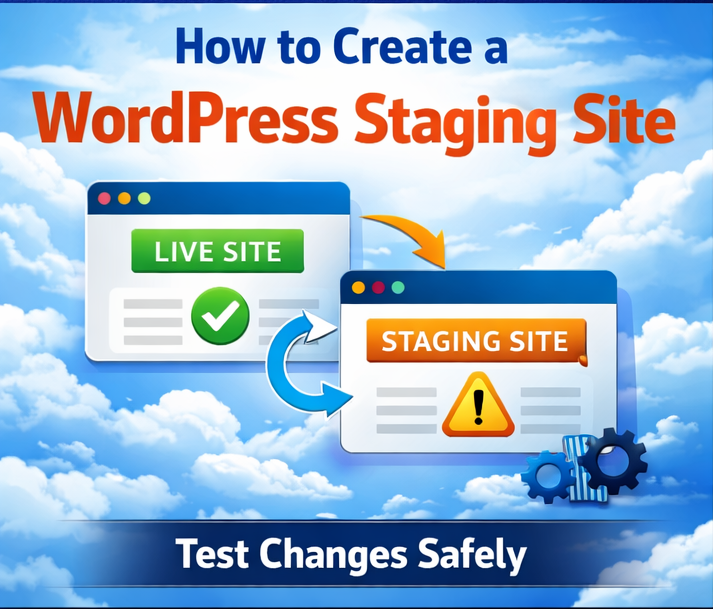
A WordPress staging site is a clone of your live website where you can safely test updates, plugins, and design changes without affecting your live site.
If you manage a website, staging is not optional — it’s essential.
Why You Need a Staging Site
- Test updates safely
- Avoid breaking live site
- Debug errors
- Try new designs
Method 1: Create Staging Using Plugin
Recommended Plugins:
- WP Staging
- Duplicator
Steps:
- Install plugin
- Click Create Staging
- Wait for clone
Method 2: Create Staging Using cPanel
Steps:
- Create subdomain (staging.yoursite.com)
- Copy files to subdomain folder
- Export database
- Import to new DB
- Update wp-config.php
Method 3: Manual (Advanced)
Steps:
- Backup files
- Copy WordPress files
- Create new database
- Update URLs using SQL
Best Hosting with One-Click Staging (Affiliate)
Using hosting with built-in staging saves time.
👉 Recommended Hosting:

Features:
- One-click staging
- Easy push to live
- Backup integration
Staging Best Practices
- Always password protect staging site
- Block indexing (noindex)
- Use separate database
Push Staging to Live
- Backup live site
- Replace files
- Sync database
Common Mistakes
- Not updating URLs
- Forgetting to disable staging
- Indexing staging site
Conclusion
Creating a WordPress staging site is one of the smartest decisions you can make. It protects your live website and gives you freedom to experiment safely.
FAQs
Is staging necessary?
Yes, for safe updates.
Can beginners create staging?
Yes, using plugins.
Is staging free?
Depends on hosting.